...
- Download the building block
- Navigate to the Building Block installation area and install the building block as you would normally.
- Once installed, make the block available.
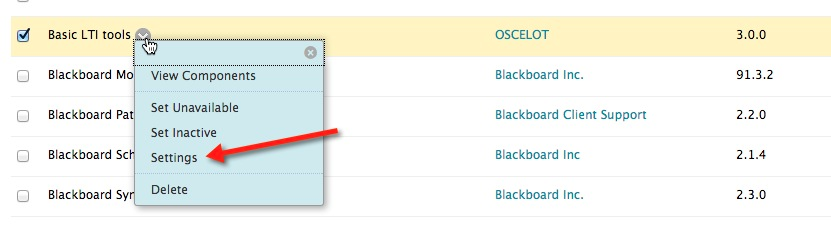
- We now need to configure the building block to work with SmarterProctoring, click on the settings option for the building block.
- Click "System Settings" to verify the system settings are correct. Make sure that at least Memberships and Setting are checked. Outcomes is current NOT required for SmarterProctoring but can be checked here if other tools use it.

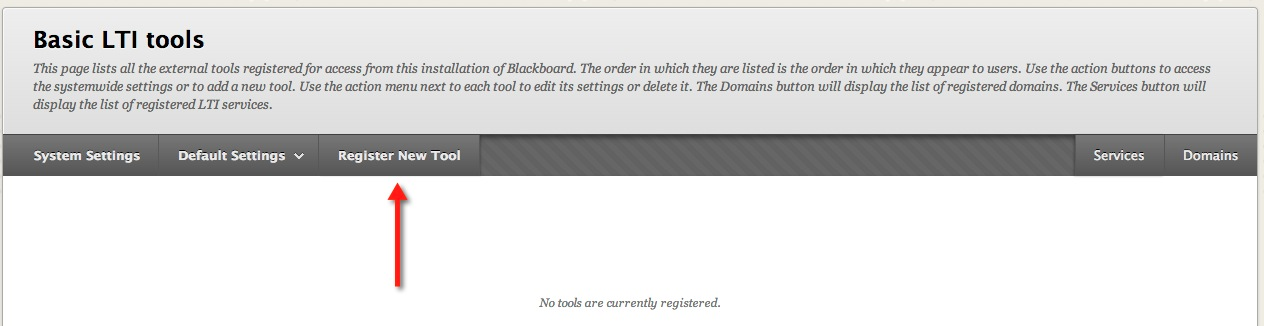
- Click "Register New Tool"
- Click the "By XML" option
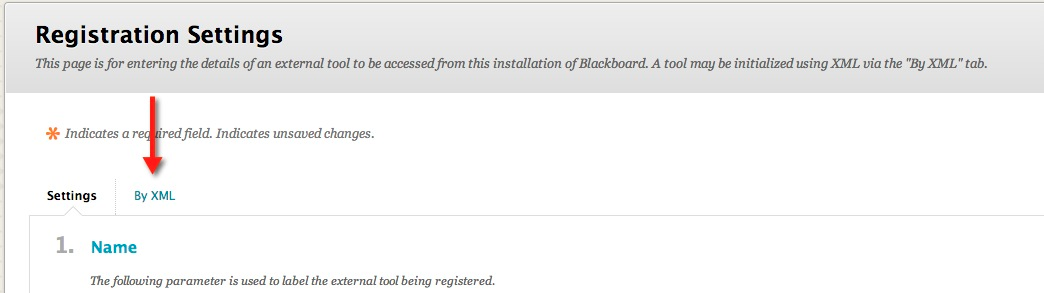
You will now need to past the URL for the tool definition in the box provided. The URL that will need to be entered here is:
Info http://lti-configurations.s3-website-us-east-1.amazonaws.com/smarterproctoring/blackboard.xml
Once this has been entered, click "Submit".
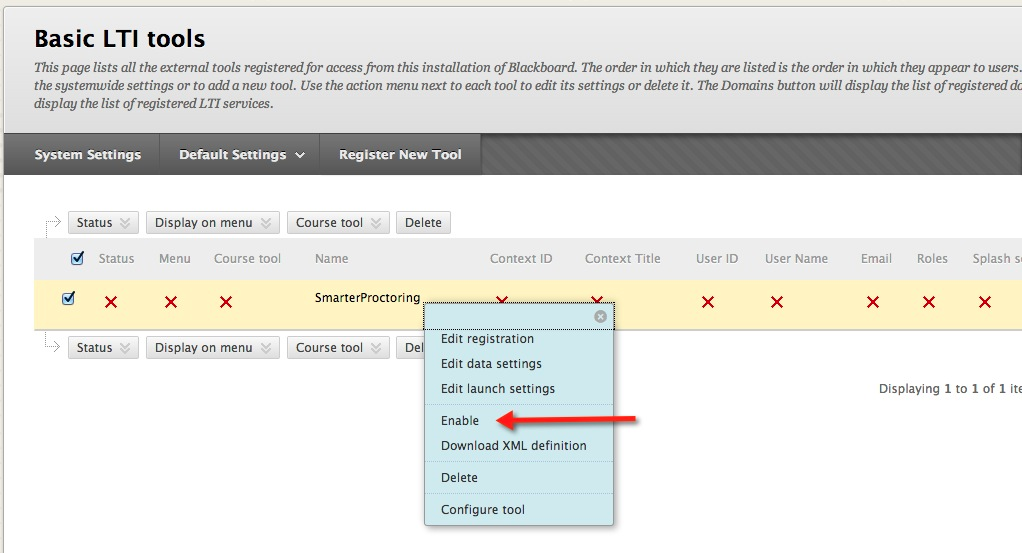
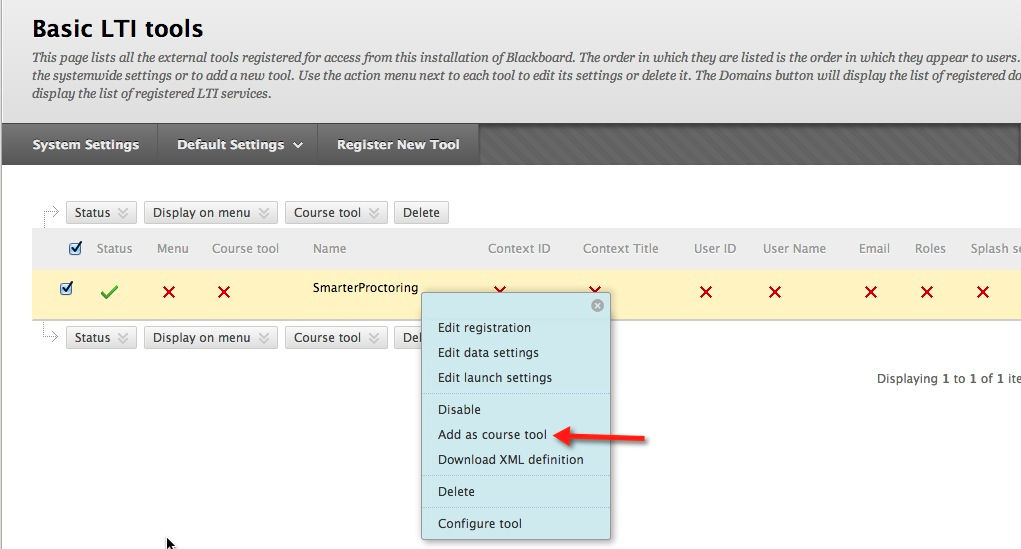
- Click on the options menu and select "Enable".
- Click on the options menu and select "Add as course tool"
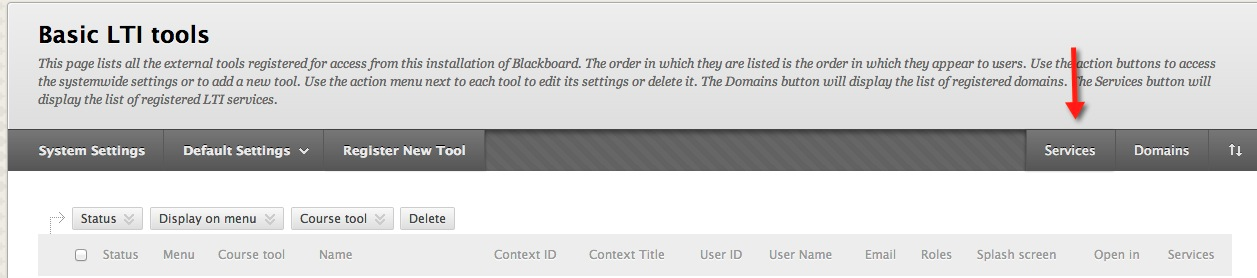
- Click the "Services" button in the main tool bar - located on the right side.
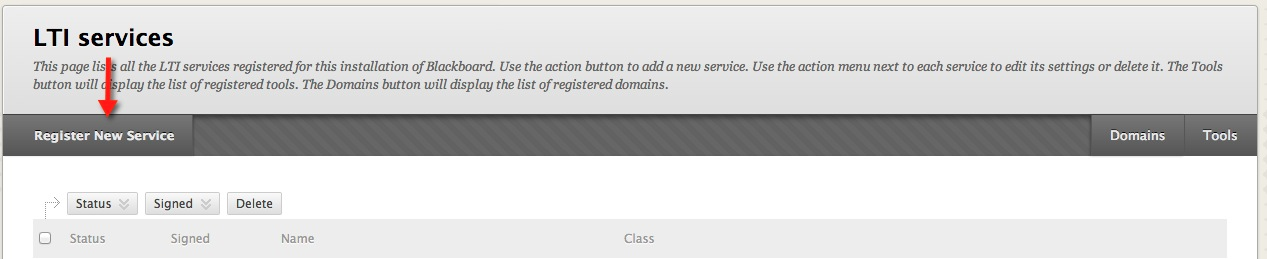
- Click the "Register New Service" button.
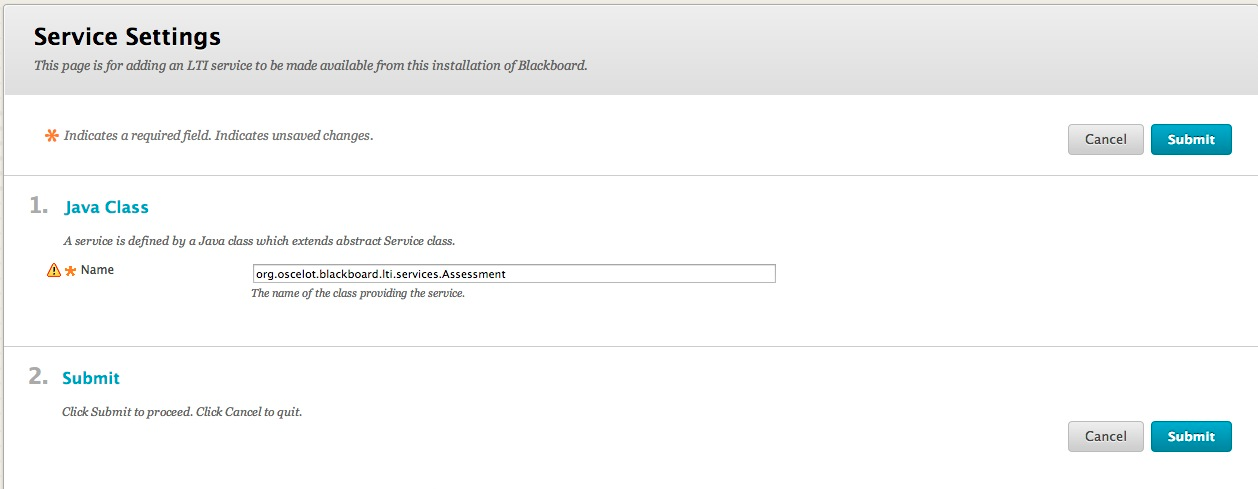
- Add the name "org.oscelot.blackboard.lti.services.Assessment" as the new Java Class and click submit.
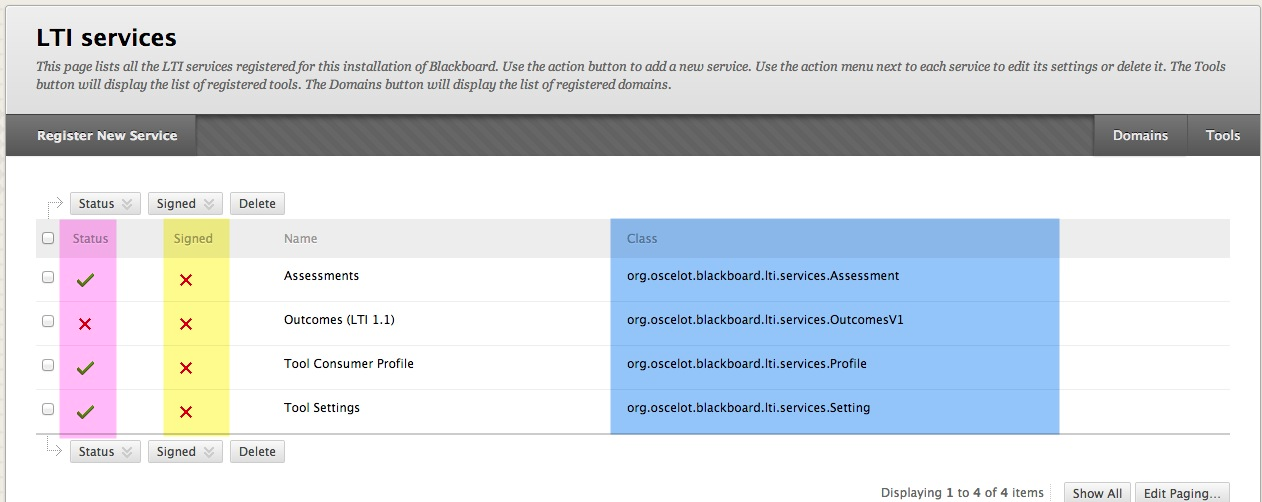
- Ensure the LTI services look like the image below. If you are missing any services, add them based on the class name listed below in blue. Ensure the status of each service mirrors the pick box below. Lastly, ensure all services are set to unsigned, per the yellow box. We will be supporting signed requests in the very near future.
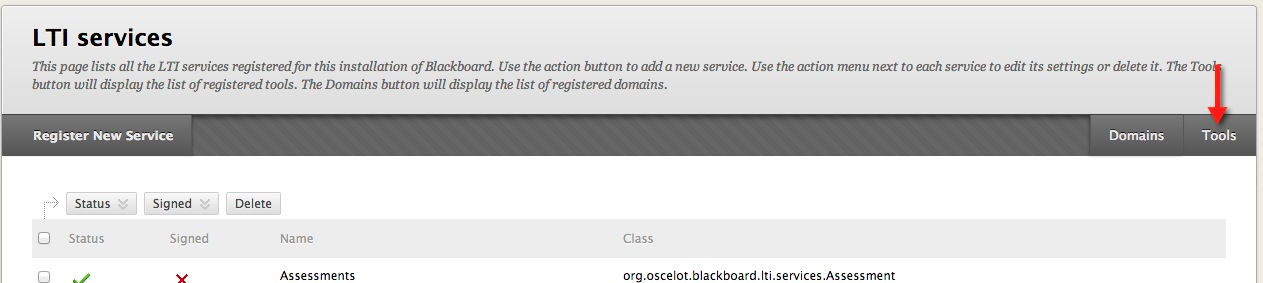
- Click the "Tools" button to return back to the installed tools page.
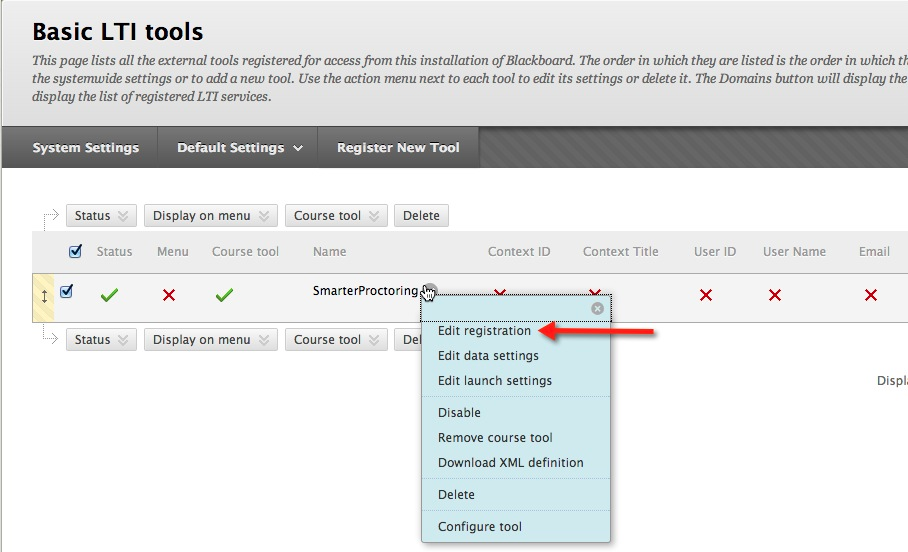
- Click the options menu and select "Edit Registration".
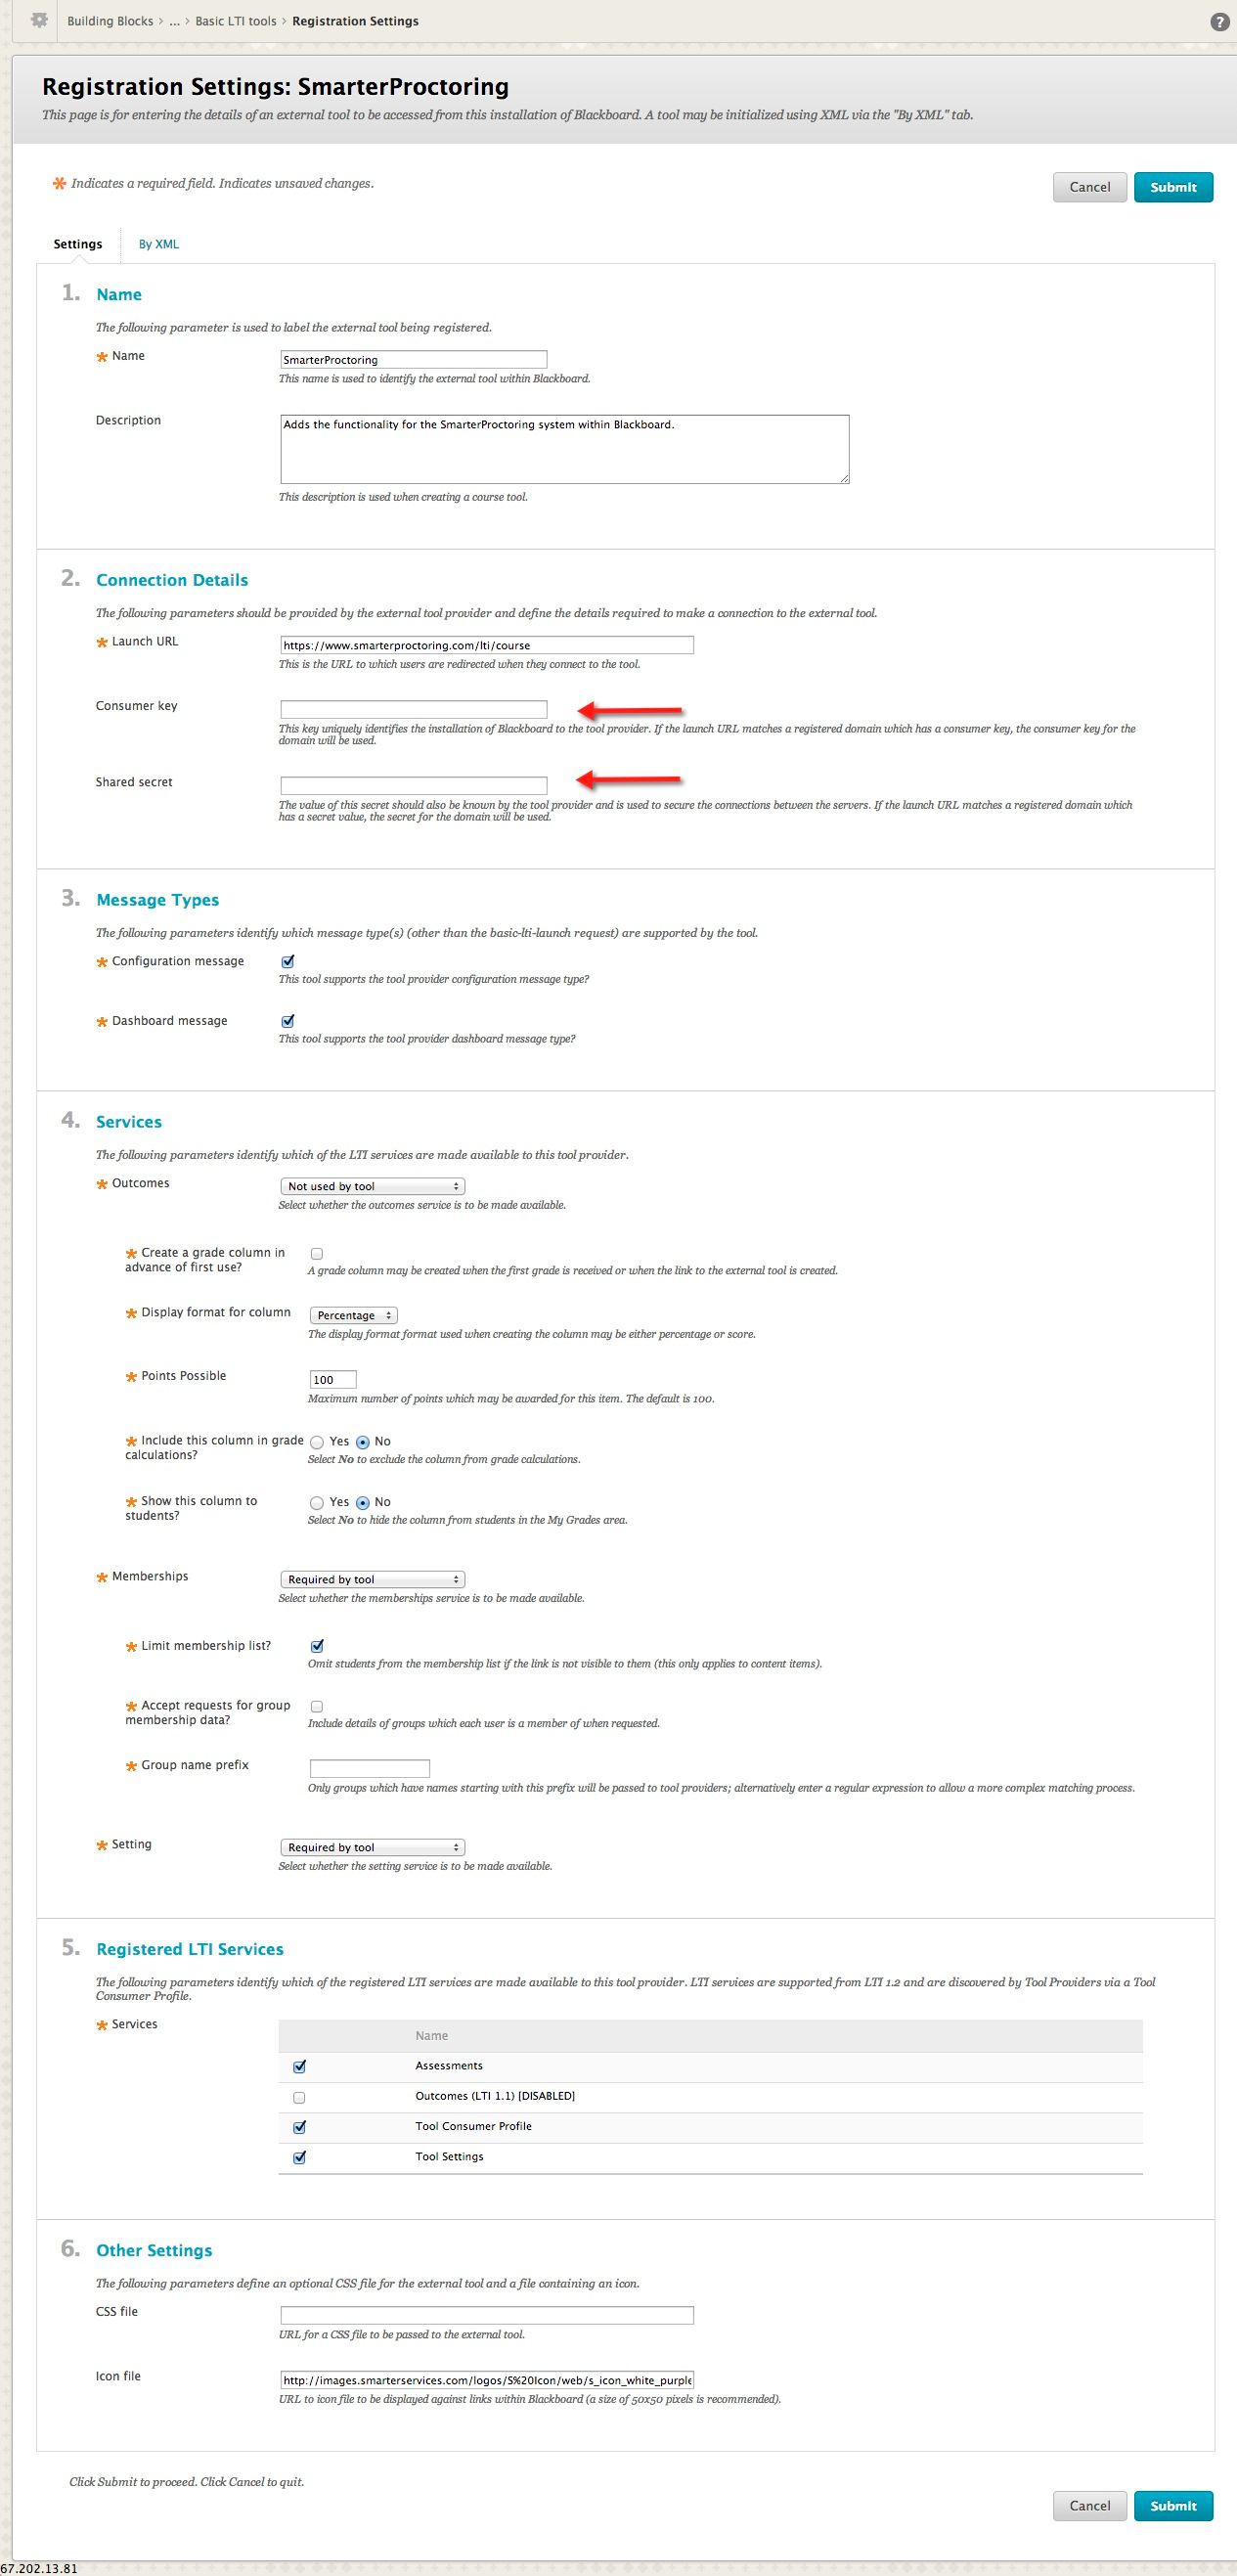
- Your registration settings should look similar to the image below. You will need to insert the Consumer key and Shared secret that was provided to you by SmarterProctoring. If your registration settings do no look like the options below, modify the options so they reflect the options outlined below.
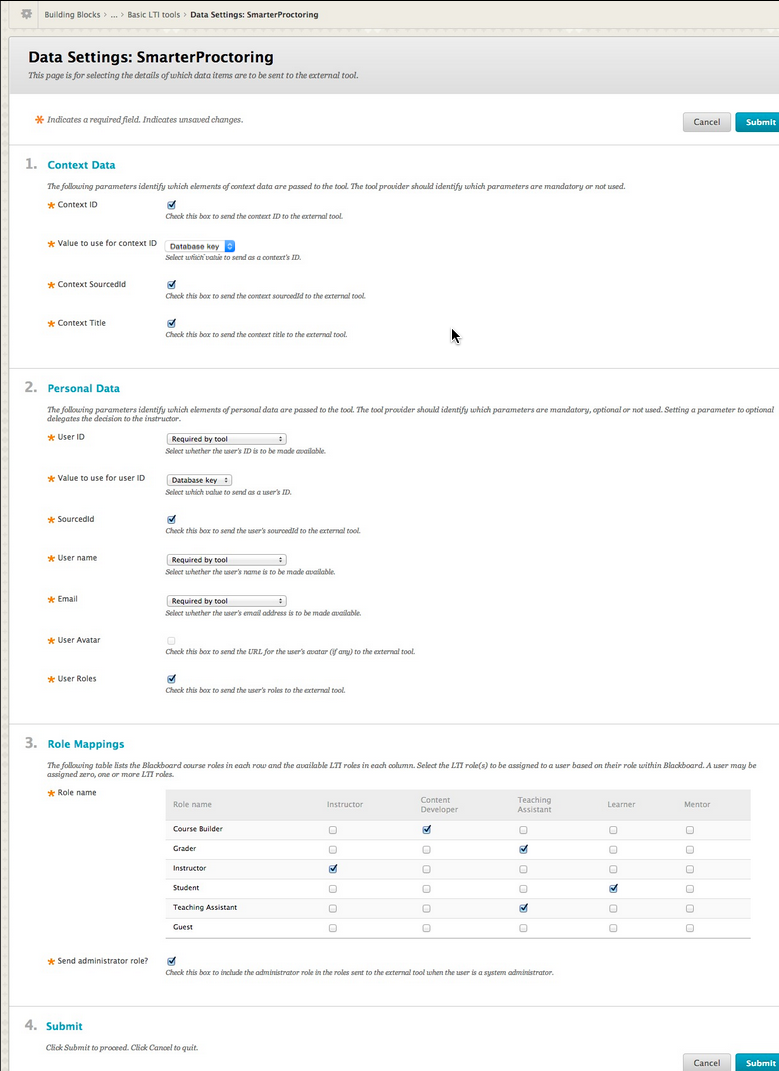
- Click the options menu and select "Edit data settings".
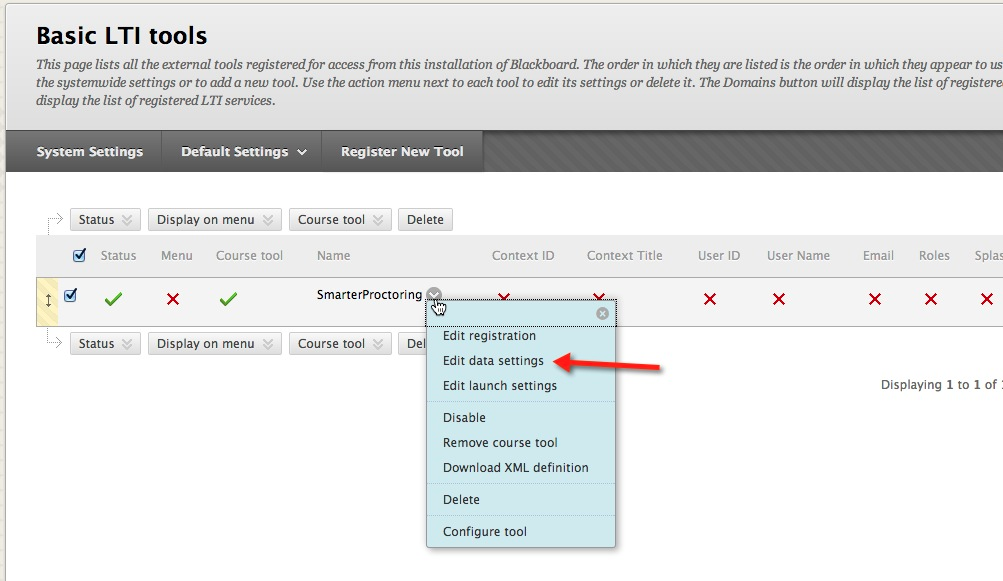
- Confirm that all the data settings look like the below image. If there are any settings that are different or missing, modify them so your settings mirror the settings below. Then click "Submit".
- Lastly, if you would like to change any of the launch parameters you can do so by clicking the options menu and selecting "Edit launch settings". Make any changes required based on your preferences and click "Submit".

- At this point, the tool is registered and ready for use.
Modify SmarterProctoring Configuration Preferences
Administrators can modify the SmarterProctoring configuration preferences by clicking the options menu and selecting "Configure Tool". Through this settings page global settings can be modified which will apply to all courses.
