Canvas
Requirements
The requirements differ depending on the version of Canvas that is being run. If Instructure is hosting your instance of Canvas then you will fall under Canvas Cloud. If you are hosting your own instance, your requirements will be under Canvas Open Source.
Canvas Open Source
- In order for SmarterProctoring to operate correctly you must issue us "Developer Keys" from your Canvas instance. To create these keys for us you can follow these steps:
- From within the main administration area of Canvas click "Developer Keys"
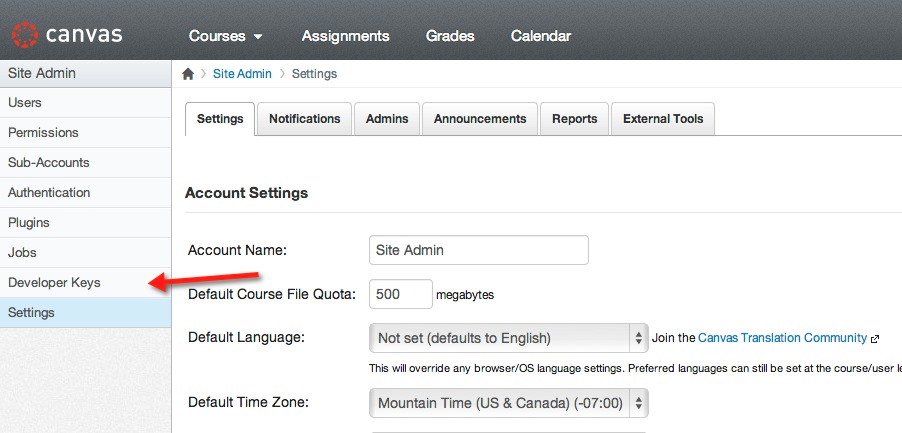
- Click the "Add Developer Key" button in the upper right.

- The Key Settings dialog will open. Enter the information shown below into this form and click "Save Key".
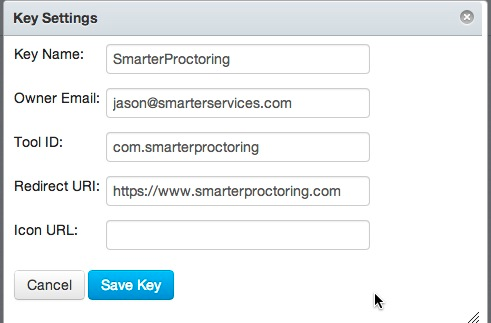
- You will need to email your SmarterProctoring account representative the ID and Key that was assigned to the key. This information can be found in the highlighted are of the image below. The ID will automatically appear, but you will need to hover over the key label in order for the key to appear, you can then copy and past the entire key.

- From within the main administration area of Canvas click "Developer Keys"
Canvas Cloud
There are no specific requirements for Canvas Cloud users.
Installation
Obtain SmarterProctoring LTI Keys
- Contact SmarterProctoring to obtain your LTI keys and get your SmarterProctoring account provisioned. You can email Andrew Davis at andrew@smarterservices.com
Configure the External Tool
External tools can be added to individual courses or to all courses in an account, the scope of your SmarterProctoring implementation will dictate where you will need to place these links. The process for adding the links is virtually the same regardless of method.
Account Level Tool
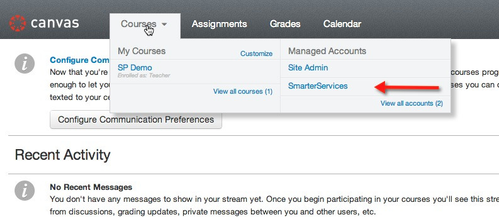
- Navigate to the account administration area you wish to add the tool for. In our example the name of our account is "SmarterServices".
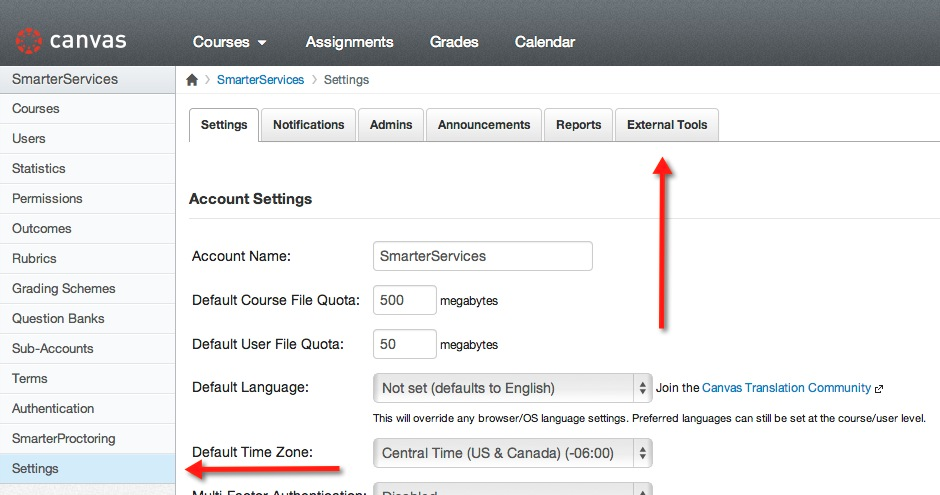
- Click the "Settings" menu item on the left, and then click the "External Tools" tab.
- Click the "Add External Tool" button.
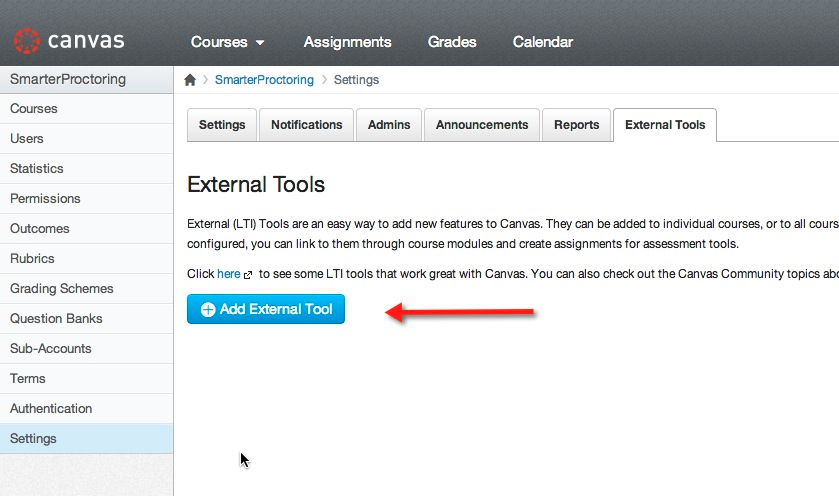
Upon clicking the "Add External Tool" button, the edit external tool dialog will open. You will need to complete the form using the following settings:
Name: SmarterProctoring
Consumer Key: [enter the key provided by SmarterProctoring]
Shared Secret: [enter the secret provided by SmarterProctoring]
Configuration URLS: Choose the URL you would like to use based on where you would like the links displayed.Location URL Account & Course Levels http://lti-configurations.s3-website-us-east-1.amazonaws.com/smarterproctoring/canvas.xml Account & Course Levels
(disabled in course navigation by default)http://lti-configurations.s3-website-us-east-1.amazonaws.com/smarterproctoring/canvas-disabled.xml Account Level ONLY http://lti-configurations.s3-website-us-east-1.amazonaws.com/smarterproctoring/canvas-account-only.xml Course Level ONLY http://lti-configurations.s3-website-us-east-1.amazonaws.com/smarterproctoring/canvas-course-only.xml Course Level ONLY
(disabled in course navigation by default)http://lti-configurations.s3-website-us-east-1.amazonaws.com/smarterproctoring/canvas-course-only-disabled.xml 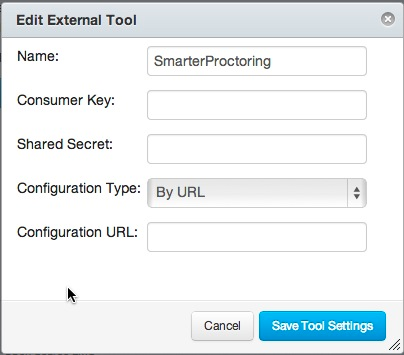
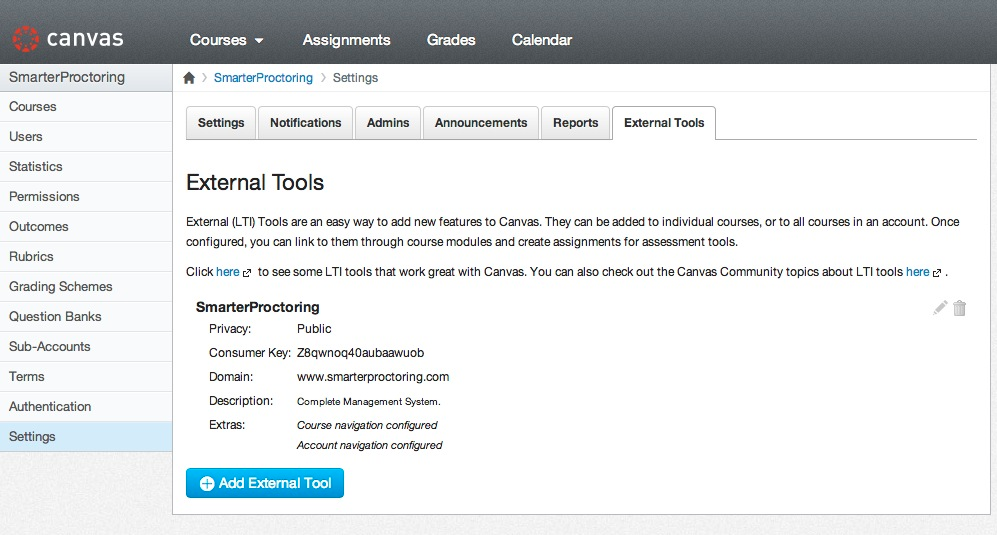
Click the "Save Tool Settings" button when finished filling out the form.- You will now see SmarterProctoring as an external tool
Course Level Tool
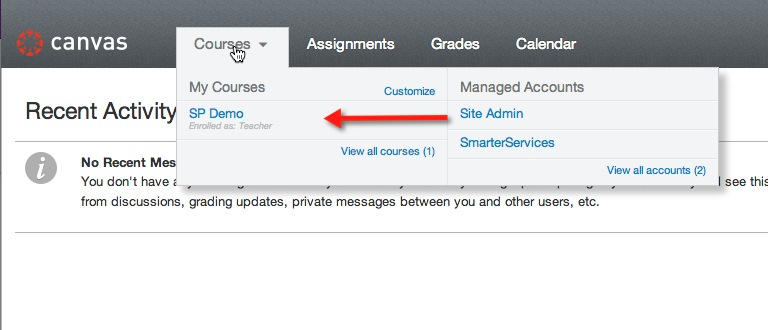
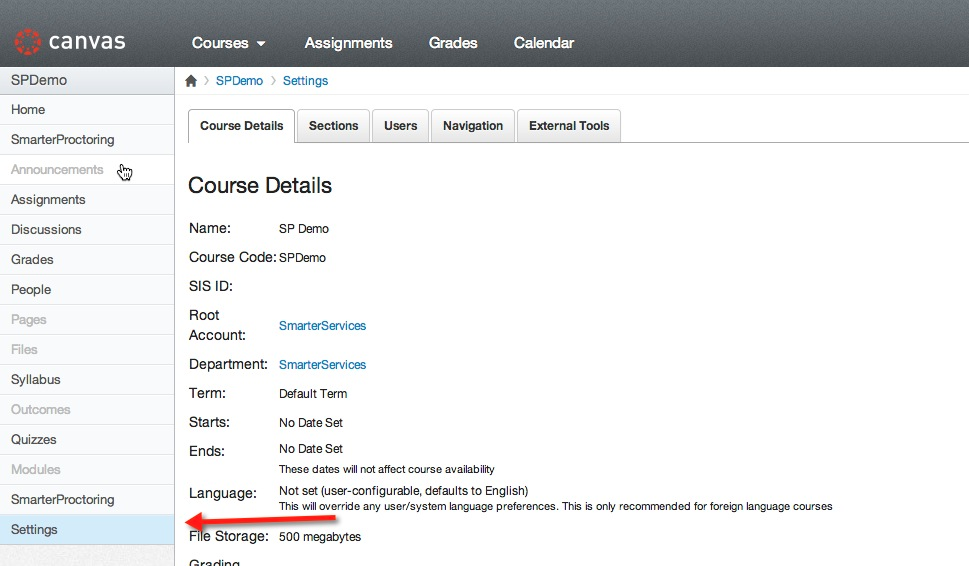
- Navigate to the course you wish to embed the tool for. In our example the name of our course is"SP Demo".
- Click the "Settings" menu item on the left.
- Next we need to navigate to the tools/apps section. This process is slightly different between Canvas Cloud and Open Source - use the correct steps below.
- Open Source: click the "External Tools" tab
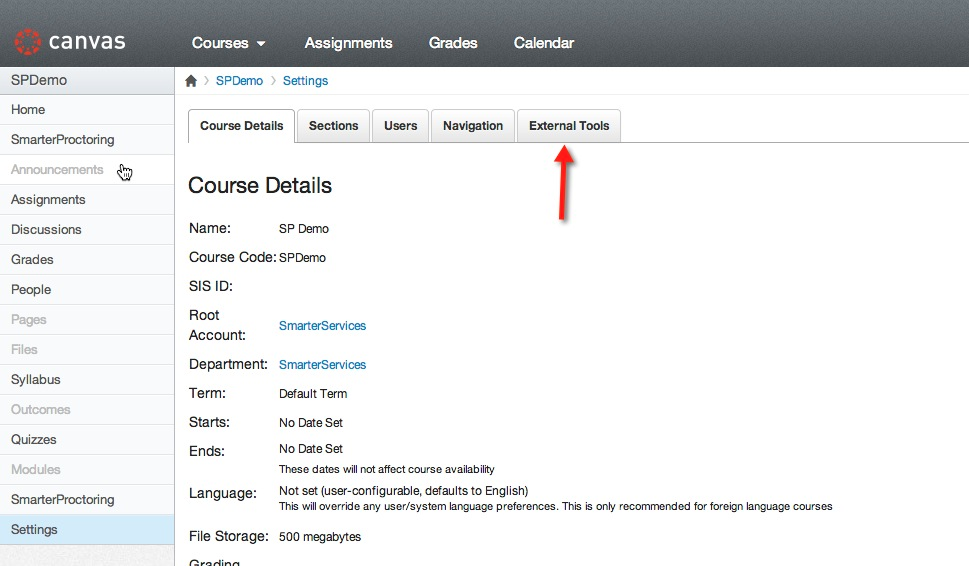
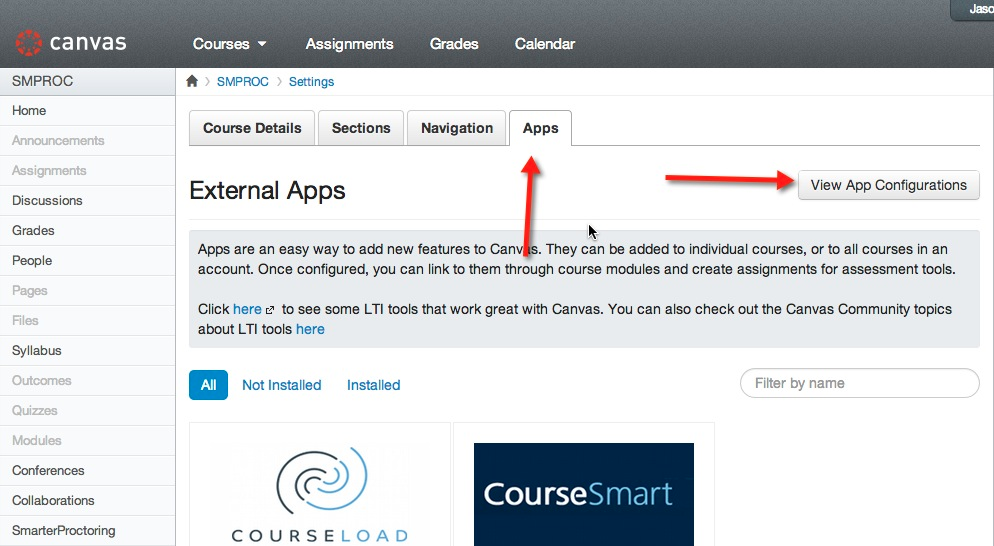
- Canvas Cloud: Click the "Apps" tab, and then click the "View App Configuration".
- Open Source: click the "External Tools" tab
- Click the "Add External Tool" or "Add App" button to open the external tool dialog.
Open Source Canvas Cloud 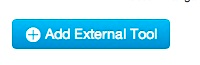

- Upon clicking the add button, the edit external tool dialog will open. You will need to complete the form using the following settings:
Name: SmarterProctoring
Consumer Key: [enter the key provided by SmarterProctoring]
Shared Secret: [enter the secret provided by SmarterProctoring]
Configuration URL: http://lti-configurations.s3-website-us-east-1.amazonaws.com/smarterproctoring/canvas.xml
Click the "Save Tool Settings" button when finished filling out the form.
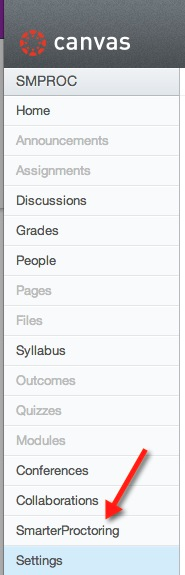
At this point the links should be placed into the course in the correct location as shown below. If the link is not appearing you might need to modify it's display in the course navigation configuration settings. You can do this by going to "Settings" > "Navigation".
Modify SmarterProctoring Configuration Preferences
Administrators can modify the SmarterProctoring configuration preferences by clicking the options menu and selecting "Configure Tool". Through this settings page global settings can be modified which will apply to all courses.