...
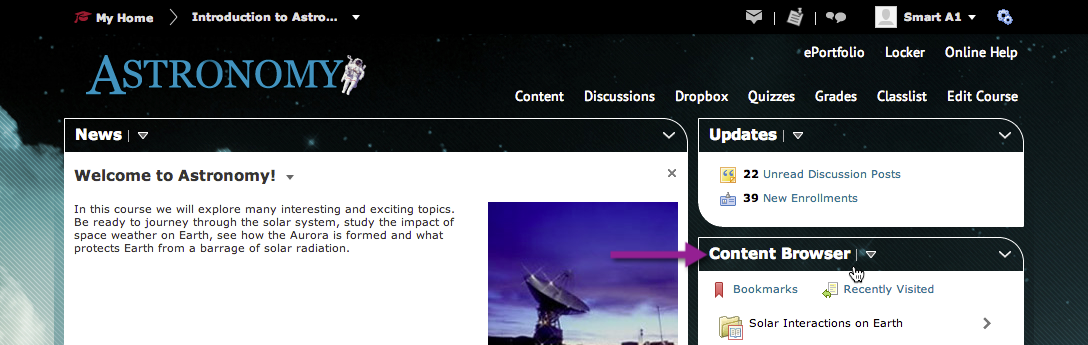
- Navigate to the course dashboard.
- Click the Content Browser link.
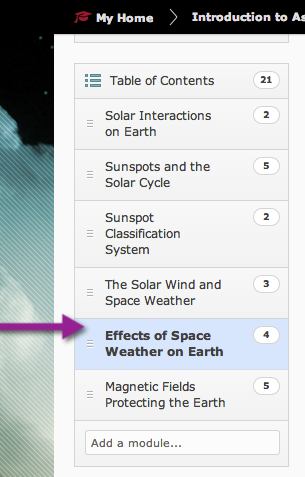
- Navigate to the course module that you want to add a link to SmarterProctoring.
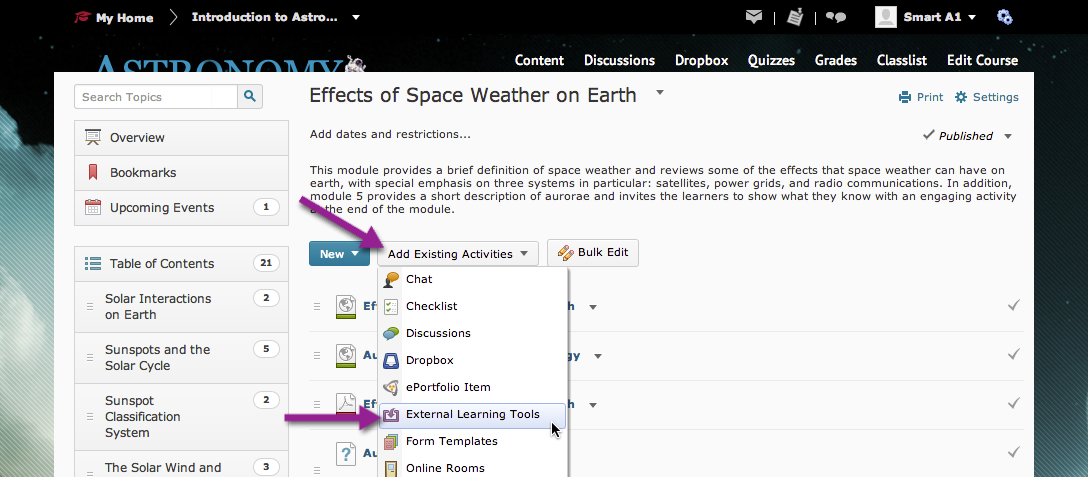
- Click the "Add Existing Activities" dropdown button. And then, click on the "External Learning Tools" link.
- Click on the SmarterProctoring link.
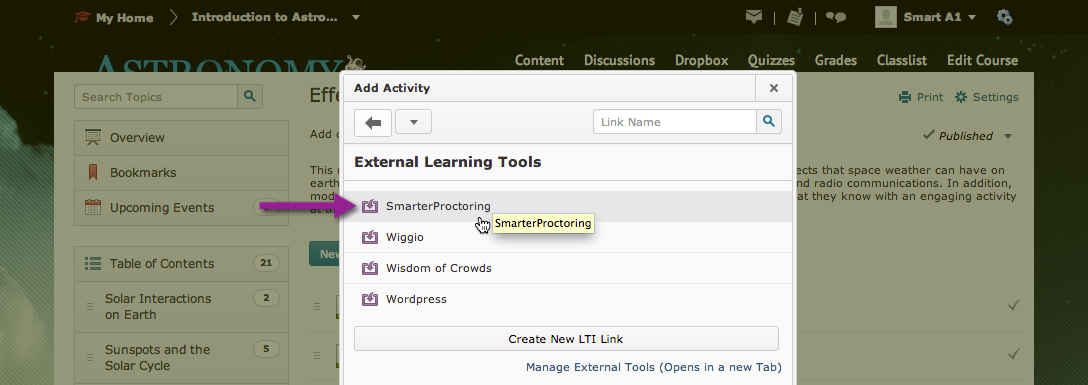
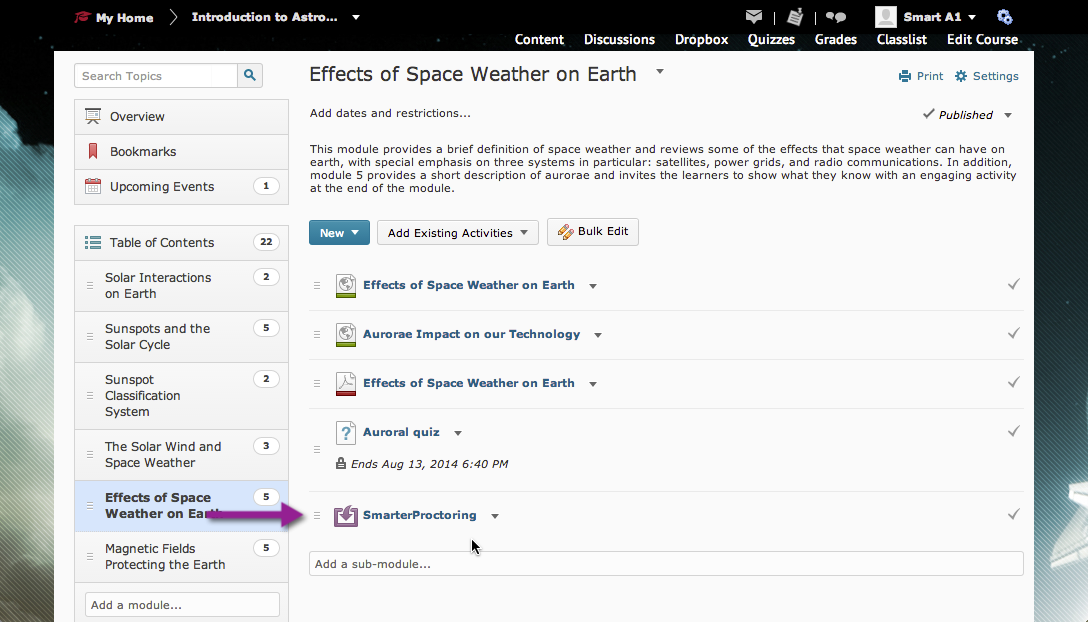
- The SmarterProctoring link is added to the topic. We suggest placing the SmarterProctoring link either in the course introduction or next to quiz links. You may include as many SmarterProctoring links as you need, so that they may appear next to any quiz links in your modules.
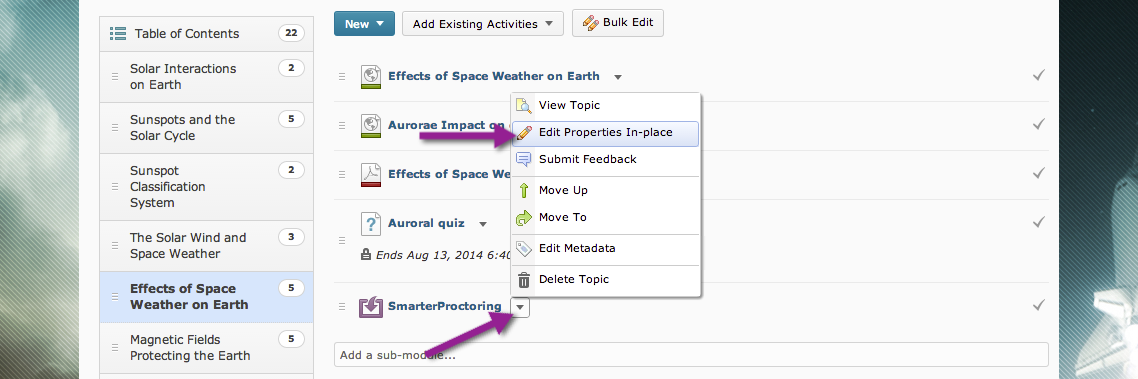
- Click on the dropdown button next to the SmarterProctoring link. And then, click on the "Edit Properties In-place" link.
- Check the "Open as External Resource" box. The settings will save automatically.
This step allows SmarterProctoring to display at its normal resolution. If this setting is left unchecked, then SmarterProctoring will attempt to open a new window. However, this ability is blocked by some common browsers.
- Verify the course has been setup in SmarterProctoring.
- Launch SmarterProctoring using one of these methods:
- Refresh the screen, and then click the SmarterProctoring link.
- Click the dropdown box next to SmarterProctoring, and then click the "View Topic" link.
- Verify the launch screen
- If you see a request to Add Course, then follow the Add Course to SmarterProctoring section below.
 If you see the course dashboard then, SmarterProctoring is ready to use. You may add exams, approve proctors, etc.
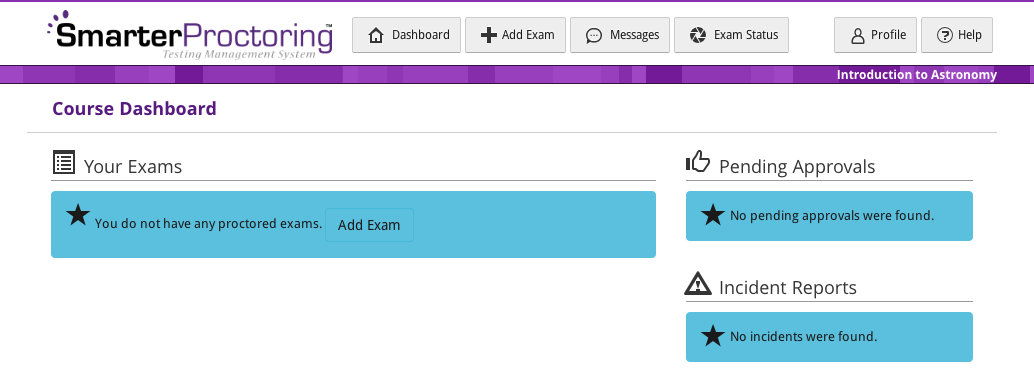
- If you see a request to Add Course, then follow the Add Course to SmarterProctoring section below.
- Launch SmarterProctoring using one of these methods:
...
- If you see a request to Add Course or permission request screen, then follow the Add Course to SmarterProctoring section below.

- If you see a request to Add Course or permission request screen, then follow the Add Course to SmarterProctoring section below.
Add Course to SmarterProctoring
This section assumes you've completed all previous parts of this guide.
- Click on a SmarterProctoring link from within a course. If this is your first time accessing SmarterProctoring, then Desire2Learn will ask your permission to exchange some data to SmarterProctoring.
- Check the "Do not ask me again for this application. And then, click the "Continue" button.

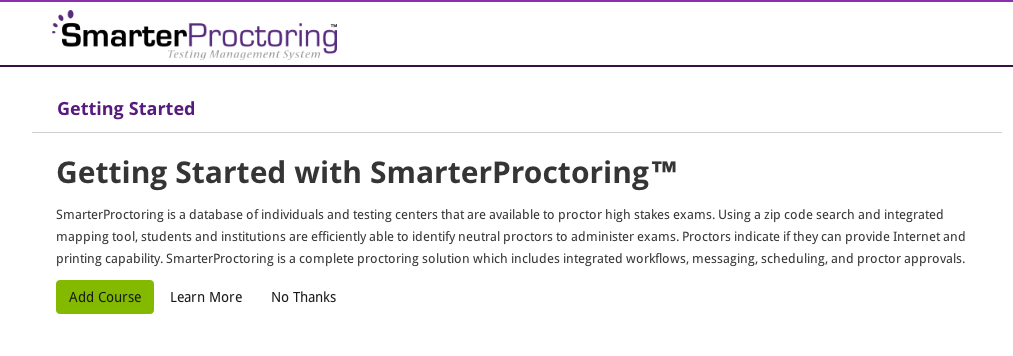
- The getting started screen will be displayed. Click the "Add Course" button to continue.
You can also click the "Learn More" button, and then click the "Add Course" button to continue.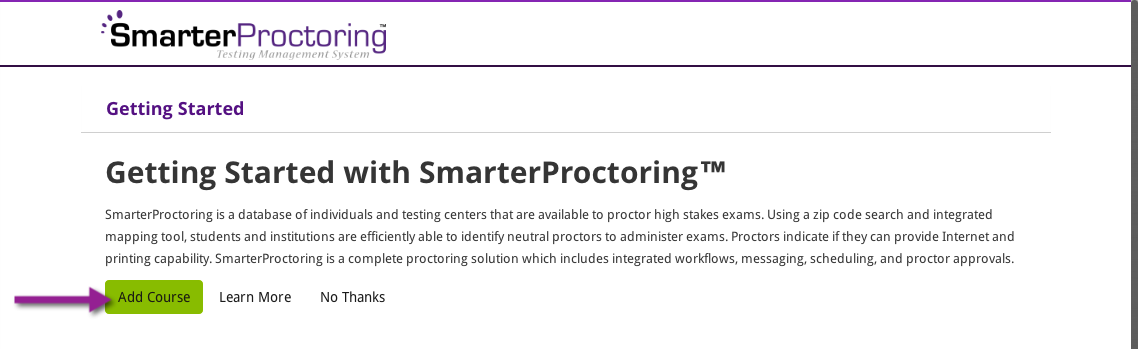
- Your course details will be displayed.
...
- Select your Time Zone, and then click the "Setup This Course" button.
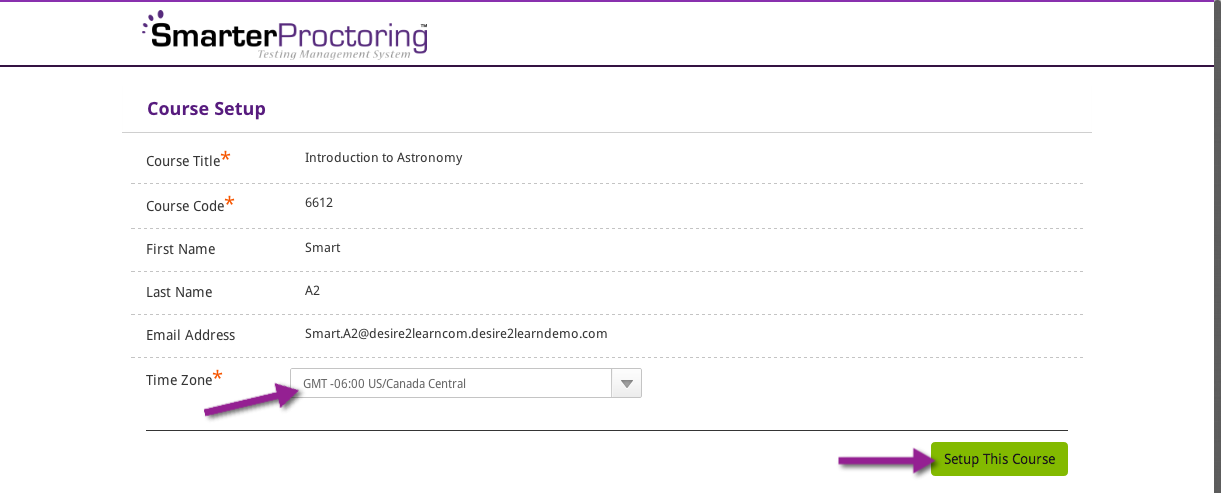
- Your course has now been setup in SmarterProctoring. You'll need to setup exams (quizzes) within SmarterProctoring in order for students to schedule proctoring sessions.